 Lars' Creative Warehouse
|
|
*
Lars' Creative Warehouse
|
|
Home
|
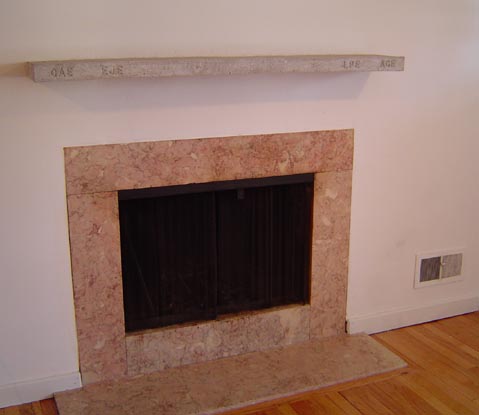
A Concrete Mantle complements Marble FireplaceThe story of an awful(ly) dark room. | |

|
The wall needed to go. The wall had been "remodelled" ( quotes intentional) The entire wall was covered with dark panelling. I remember the days when thin panelling was one way to make walls over and make them look like "expensive" walls (quotes, again,intentional) When we took up a portion of the carpet, I found a hardwood floor. When we took away a portion of the wall, there was a fine plaster wall. The mantle that was there, I don't even have a picture, was not loved by anyone. It was a "club-footed" overweight pine shelf, held on by two tiny brackets like you might find behind a picture frame to grab a screw protruding from the wall. |
|
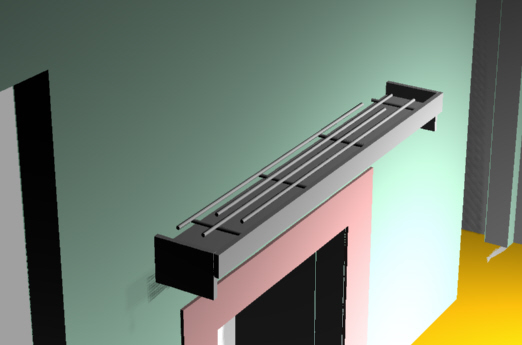
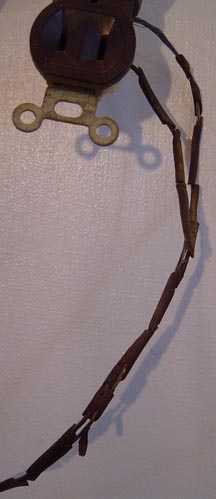
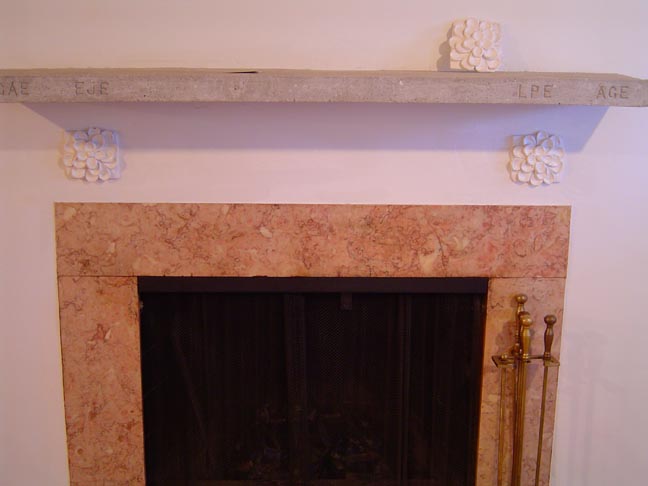
Once the mantle went, I was committed to fix up the entire wall. I used an outlet that had been positioned above the old mantle and started sawing out the old panelling. When I pulled off the piece with the outlet in it, I was astounded to find my first real fire hazard. I have seen the insides of many walls, and many things that others might call a fire hazard, but this was "the real mcCoy". It was wire nutted to the proper outlet with lamp wire. The lamp wire was so old and frail that large portions of the wire were simply bare...behind thin, highly flammable, panelling, about a 16th of an inch apart( the wires). Any load could have heated those wires up and ignited the wall. Finding that made it easy to muster the necessary contempt for the panelled wall to dismantle it. To replace the mantle, I decided on a poured in place slab to match the existing marble hearth. I tried out some lettering in the form to put the initials of the homeowner on the face. I cantilevered the mantle about 9 1/2" from the wall using 1/2" re-bar through four studs. It doesn't really look like it, but this shelf weighs about 100 lbs. To keep the form in place while the concrete sets up, I used a 1x4 and simply made temporary legs on the front on either side. This helped keep everything level for a few days. |
The form. | |
|
|
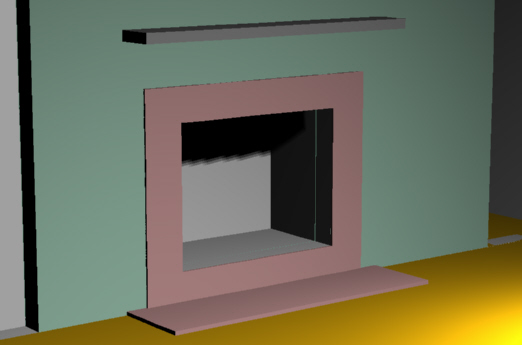
A Design View |
Reality. |
| It's amazing how closely the design, in 3 dimensions can help one visualize the outcome. I made few changes from the concept, but I do actually notice the extra 1/2" thickness in the shelf. | |

|
Its great to know someone like Rob Simpson, who helped determine the oak floors would need a good sanding and resealing. He did a wonderful job as you can see. Of course, dark panelling on the long wall of a 20x13' room really makes a room dark and dreary. Lightening it up was the main goal. But, once you tackle one wall, there are the other three to consider.
|
|
|
|
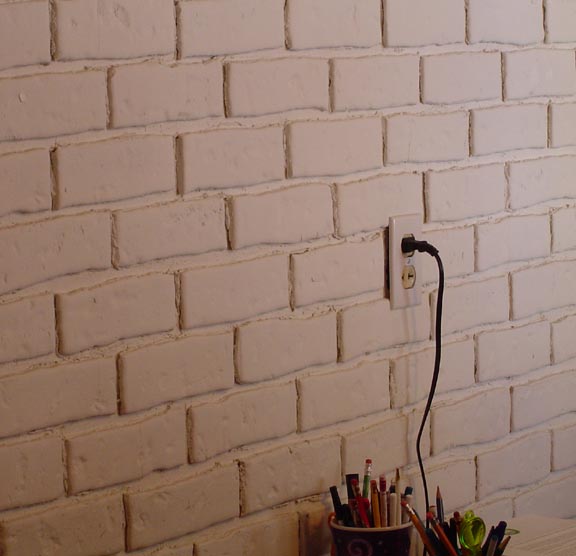
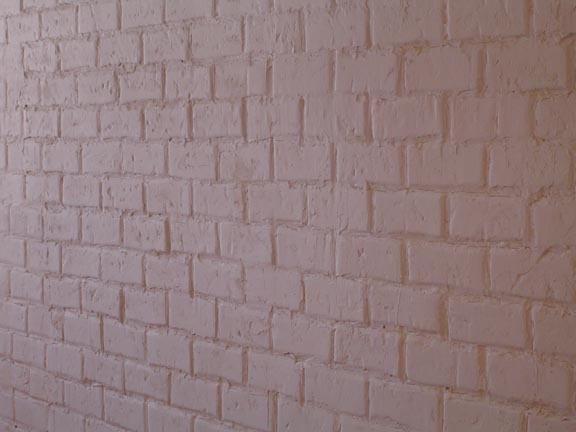
On the opposite wall, another terrible idea in home improvement, the "Z-brick". These disgusting brick facades were glued onto a plaster wall to give the appearance of a real brick wall. Woo! Well, in fact, they just look kind of silly. The only solution for undoing the improvement/damage would be to tear out the wall and rebuild it. Not wanting to go to that extreme, I opted for a compromise. I filled the 'mortar joints' to soften the obnoxious brick effect, using drywall compound, then painted the wall white. The resulting wall actually does look like a real brick wall ( for what it's worth), and it was still alot of work, but about half what re-building the thing might have been.
|
|
|
|

|
The final touch is a bit of plaster magic. Actually, the 'fleurette's are plaster of paris, cast in a latex form that I made from an original experiment in clay. I like how original one can be if he goes the extra mile and creates a few things from scratch. We decided to leave off the middle one above ( it's just propped up against the wall) and call this a fireplace. The real irony is that most our work was simply restoring the room to it's condition before it was "improved" (again, yes the quotes, intentional)
|