
|
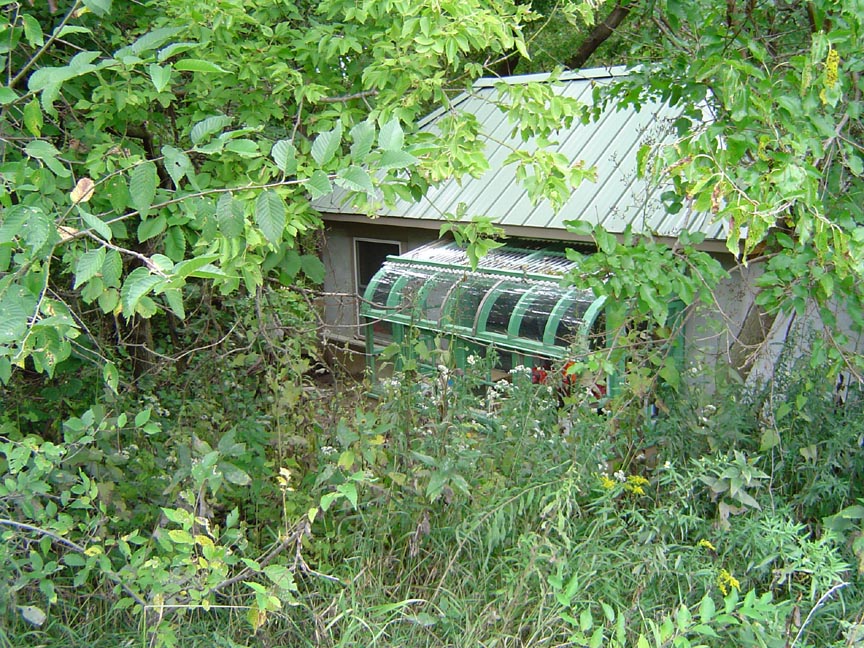
To get some building experience, I planned a shed for my mower. I had been parking it in the woods with a tarp over it. Anything with a roof would be a big improvement.
As long as I was at it, I thought, why not make it a little bigger. You can never have too much storage space. As a matter of fact, we are bursting out of the seams of our house.
But hey, as long as we are building, why not 'bump-out' the back wall so one could park a car, or, say, a tractor with a loader in there.
Calling and finding out the height of the ROPS ( roll bar) was a good idea, and knowing it will clear the doorway, as long as I am reasonably centered, makes the arched doorway an extra nice feature.
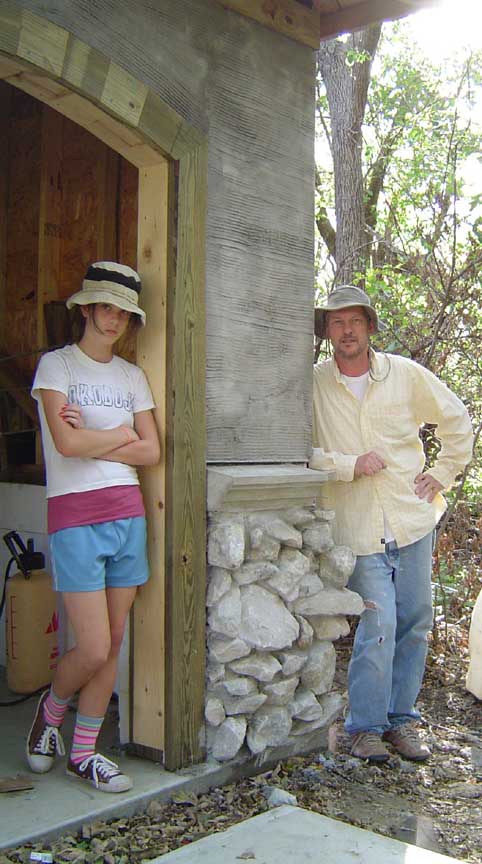
The first thing I built on the property was a stone faced post. Using local stone gives the property a unifying theme, and ties it to this locale.
|

The Bump-out
|
Not to mention the fact that stone is costly to transport, and it makes economic and ecologic sense, as well as aesthetic sense. This crushed limestone is not exactly brick-stackable, but after awhile you realize that just about any combination, with mortar, hangs on tough and looks great.
Design First
There are lots of aspects of building that I just need to see first hand to feel like I can tackle a house project. Not the least of which is just getting a plan and a permit.
I wanted to try out a window, some insulated concrete forms, stucco, a glassed in area, and, heck, while I was at it, I thought I should make it big enough for a tractor.
Knowing I would want to have a metal roof, I researched the best provider for metal roofing and got some challenging hands on experience with that as well.
To anyone reading this anecdote of building in the woods, I would suggest looking within 100 feet of the building site, and finding any large, potentially damaging trees that might fall in the direction of your project. It is exciting to get started, and noone likes to cut down big trees, but it would have been easier before I had a shed here. As my neighbor, Ron, says, a good time to cut down that tree would be about two months ago.
|
Plan
|
|
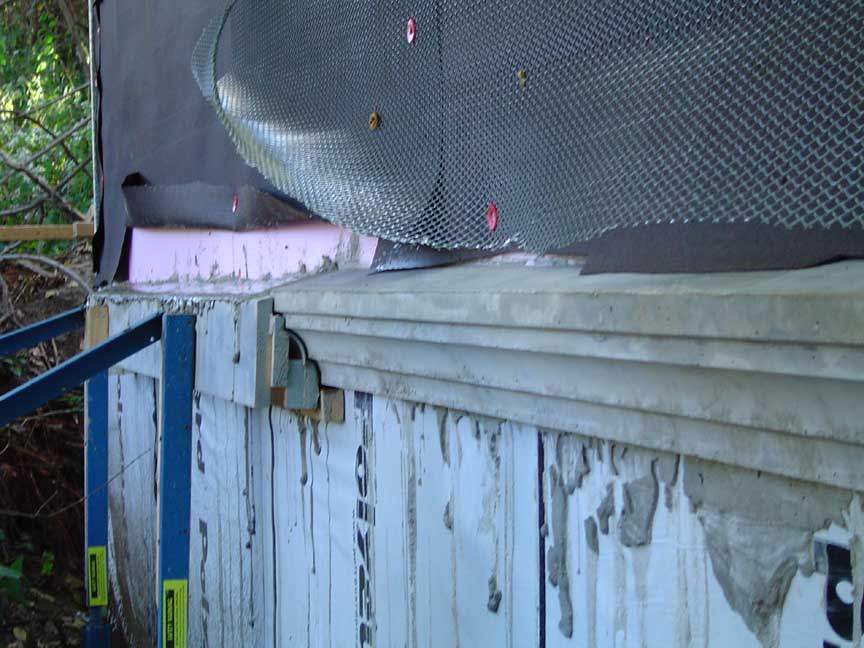
I used insulated concrete forms for the first 32" of the side walls, and 40" on the backwall. After getting a pretty high estimate for block work, the cost of the the forms and the concrete seemed reasonable. The big plus was that I got a better finished product and garnered the experience of doing it myself.
When those first walls started going up, I had to re-check my lengths. They just seemed so tall. My son assured me it would be great. The reason they seemed tall was that I had designed the door to accommodate a tractor with ROPS ( roll bar) and so that forced the 9' ceilings. In retrospect, I am happy I made it larger than original, and still much smaller than most guys would have built it.
|
In the winter, the leaves drop and lots of sun comes in the back.
Eventually you have to start building.
|

|
After studs and building board, I added 2" of pink foam to the outside walls, just in case I decided to insulate the ceiling someday. It was a challenge to put metal lath, tar paper ( felt) and stucco through the 2" of insulation. I wanted the open stud cavities to have the natural garage/shed look and places to hang things all over.
Where building meets ground, I wanted to keep the mud from splashing on the walls, against my knowledge of how much work it would be, I designed a decorative drip ledge and began to implement it. All around the building, I formed up against the wall and used some pole barn nails and rolled up metal lath and wire to provide a bit of steel inside. Everything I did took extra long nails or screws to get a purchase through the foam insulation, but I am satisfied that it will remain attached for a long time.
This ledge really worked nice below the stucco, and also matching the front stone ledges I cast to transition from stone to stucco.
|
|
There are eight multi-paned windows in the building, and one double-hung insert window. It is a bad combination to be cheap, and yet desire the best. I wanted a sort of 'carriage house'look, and rounded top doors. I do not mind the hinged swinging doors, though I do worry about how long it will be until they get caught the wrong way in the wind.
Anyway, this, cheap luxury dichotomy dictates that one either give in, or be creative. I rarely give in, but it would certainly be easier, most times. I decided to construct the doors out of a simple frame of treated 2x6's. That way, I could make the radius top, the classic shed diagonal, and even insulate with 1.5" of foam.
The windows in the doors just let in lots of light and make it nicer to be inside. The views of the woods are great. I called around and found 12"x12" panes of glass for about $1 each. I bought 75 and just made frames out of 2x4's and lots of enamel paint.
The back area was a very joyful place to cut lumber, so I wanted to retain a possible work area feel by making matching windows around what I liked to call the 'bump-out'. I designed in the 'bump-out' so that I would have room to pull a tractor in with a bucket, and still walk around. The 4' by 8' area was the last thing to get enclosed. I did enclose it with two sets of windows that match those in the doors. They swing out on either side, and in the back to allow the whole thing to open up -- but still have a little roof protection above.
I had thought about welding a framework together, but to work out the kinks, I went ultra-cheap instead. I modified the 2x4 and plexiglass design ( lexan actually) after a couple of leaks. I added some drip ledge flashing over the windows and I have not had any leaks since.
I made the plastic and wood framework a little nicer after painting and I have witnessed the first icy snow on it. On the horizontal area of the bump out, I used the corrugated patio clear plastic, and reinforced it pretty well. I am sure glad I did. I bet there was about 10 cubic feet of solid ice up there already. The metal roof is rather brutal when large sheets of snow/ice/melt/freeze/stuff decide to break free.
I know my homespun windows and doors will eventually rot, and
so far, I have already run into them once with the tractor. Heck, before I even installed the windows, I had a busted pane. That just makes it easier to accept the ultimate demise of everything, don't you think?
|
|

 Lars' Creative Warehouse